
How to Upload and Remove Documents to the AccessDEQ Portal
-
1
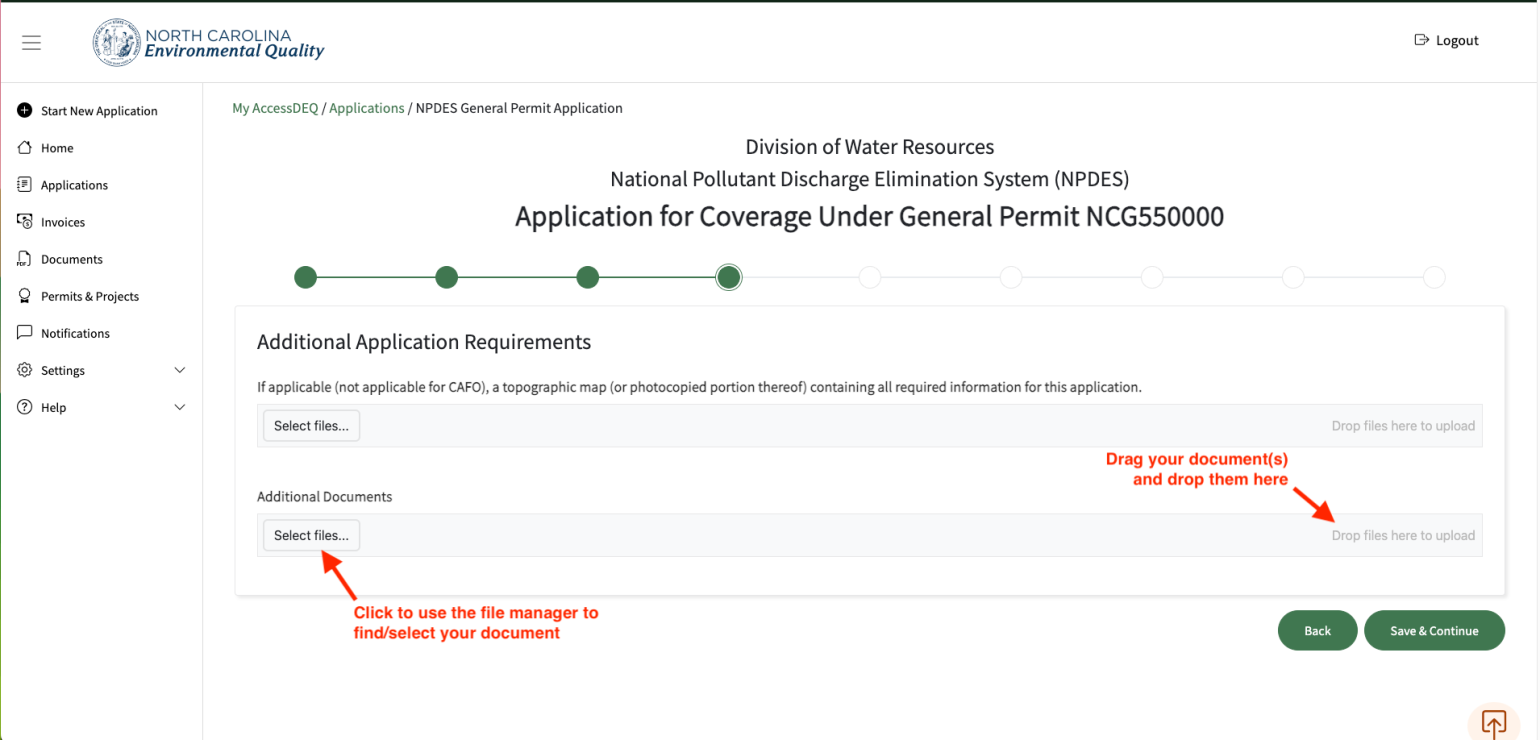
Select Your Upload Method
When you reach a document upload section in the permit application, you’ll see a light grey upload area. Inside this area is a “Select Files” button on the left and the text “Drop files here to upload” on the right.
-
2
Option 1: Use the "Select Files" Button
Click “Select Files," and your computer’s file explorer will open. Browse to the file you want to upload, select it, and confirm.
-
3
Option 2: Drag and Drop
Locate the file on your computer. Click and hold the file with your mouse. Drag it anywhere into the light grey upload area and release the mouse to begin the upload.
-
4
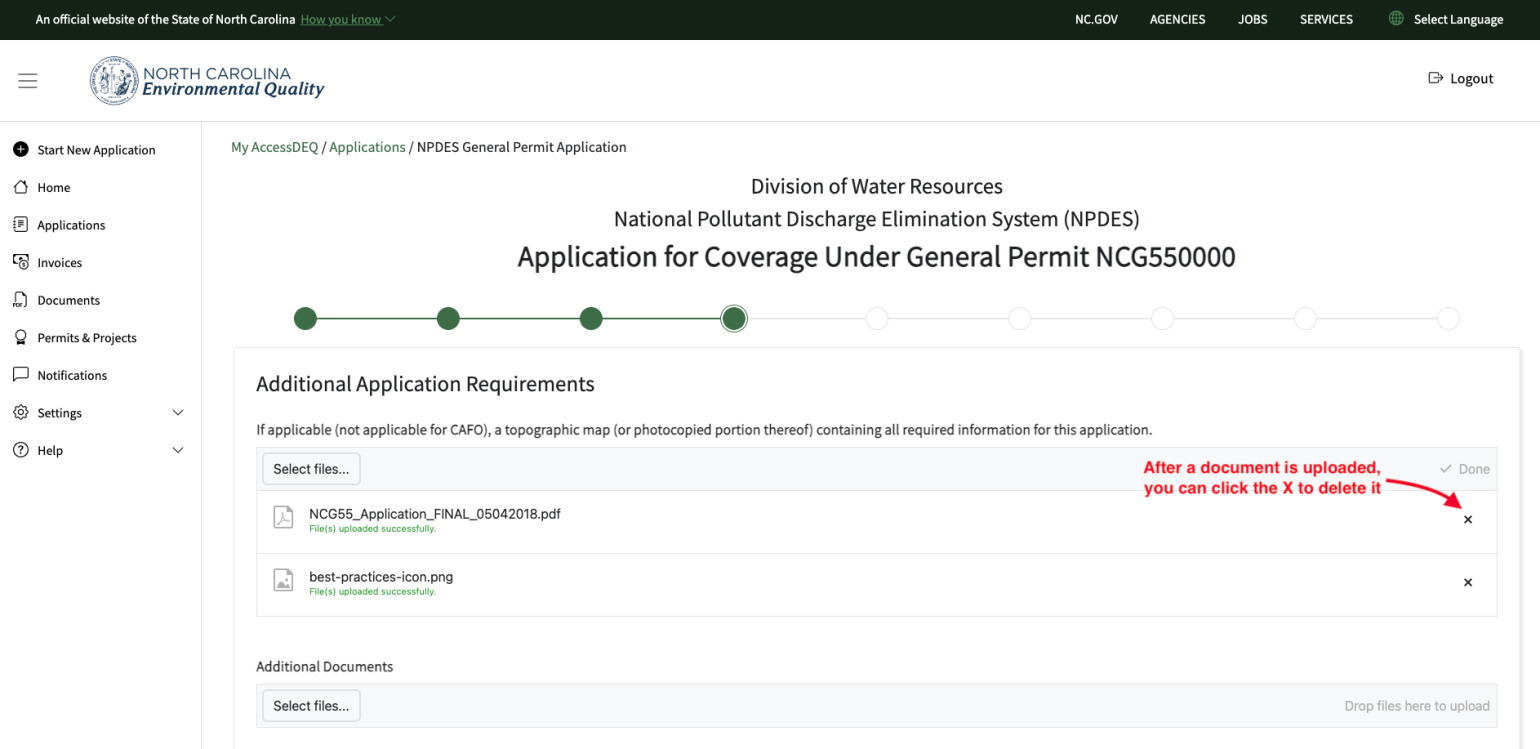
Removing an Uploaded File
If you upload the wrong file by mistake, you can remove it by looking to the far right of the uploaded file’s name and clicking the “X” icon to delete it.
Troubleshooting Tips
- Depending on the permit application you are working on, the document upload feature may allow either a single file or multiple files to be uploaded into the corresponding field.
- Some document upload fields are required, meaning you must upload a document in that field before you can proceed with the application.